The IPhone5C has plastic rear housing instead of a metal one like iPhone5S. The metal plate on which the phone’s circuits are mounted is glued to the plastic case. Therefore if the rear case is damaged or scratched in a way that needs replacing, one would have to dismantle the entire phone. After that one would have to rebuild the phone into the new metal frame that is attached to the inside of the new back case.
Special tools are required to pry the case and disassemble the entire phone.
These are
- Plastic opening tools
- Small suction cup
- Tool to eject SIM card
- Utility Scissors
- Spudger
- Tweezers
- 2.5 Flathead Screwdriver
- Philips #000 Screwdriver
Before doing anything, switch off the phone and using the pin, eject the SIM card from the phone.
How to Take the Touch Screen Off
- Wear safety glasses and gloves before starting to disassemble the IPhone.
- Remove the two Pentalobe screws (3.8mm) and use an iSclack tool or press a suction cup on the screen just above the home button. Use a plastic prying tool and keep applying firm and constant pressure till the display unit starts coming off.
- Remove the suction cup from the display panel and lift the display unit and keep it at a 90° angle to the rear case.
- Remove the front assembly cable bracket by unscrewing the #000 screws that hold the logic board to it.
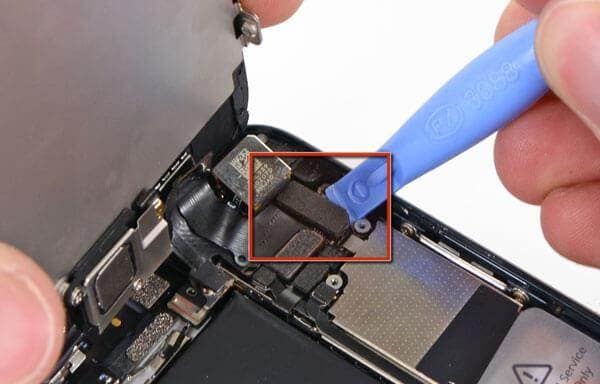
- Use the plastic tool to disconnect the sensor cable connector and the front camera.

- Use the same tool to disconnect the digitizer cable and safely detach the front case from the rear
Battery: How to Disconnect
- Unscrew the metal battery connector bracket from the logic board and remove it.
- Next remove the screws that hold the SIM ejector in place and using tweezers, remove it from the phone.
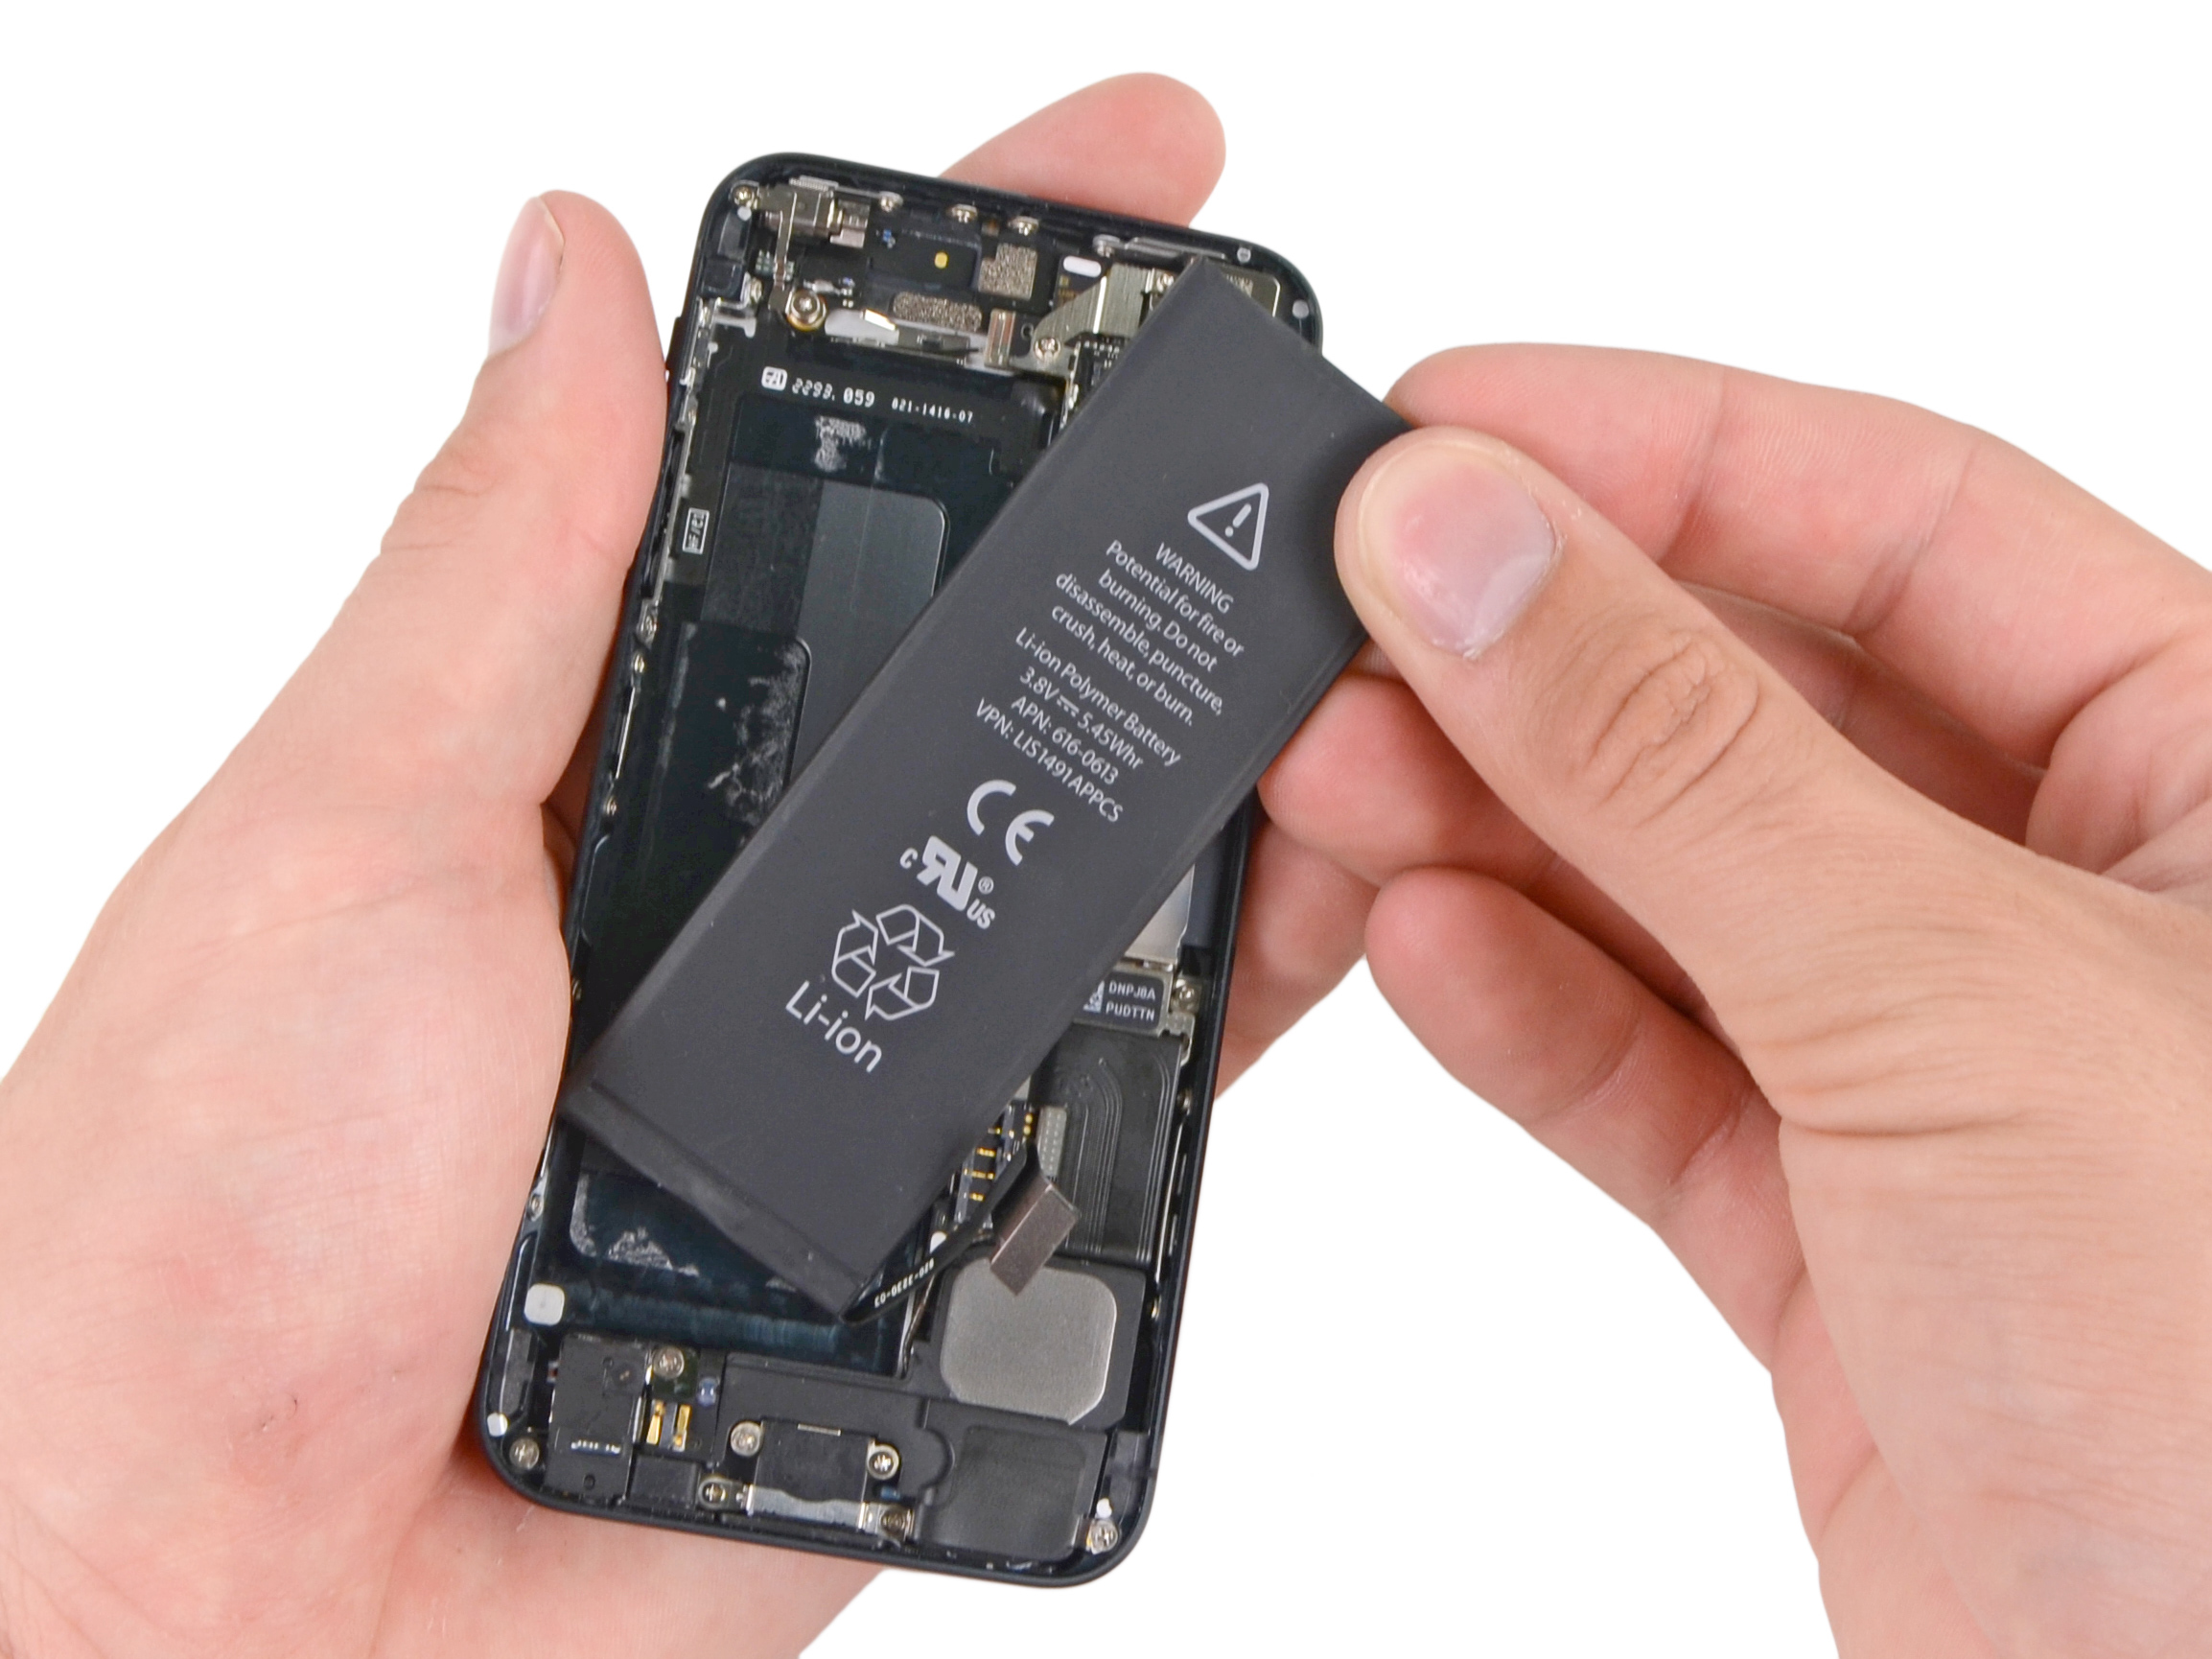
- Carefully run the tip of the Spudger along the gap and lift the adhesive tab that holds the battery in place.
- Now cut the tab at the middle and pull up straight the innermost tab and alongside the battery till it comes off. Do the same with the outer tab .Pull the battery up.

Lighting Connector
- Peel off the Home button spring contact cable and the speaker enclosure from the base.
- Disconnect the lightning connector ribbon cable from its socket and gently peel it off the logic board.
- Now the Wi-Fi antenna connector is detached and the lightning connector is removed from the base.
The Logic Board
- The Spudger should be used next to detach the audio control cable and the rear camera connector.
- Using a flathead 2.5mm driver the screws can be opened thus releasing the logic board.
The Upper Component
- Unscrew the rear facing camera next.
- The vibrator motor is the next to come off.
- Next the upper assembly bracket is unscrewed from the rear case.
- The start/stop button is unscrewed next as also the hold switch and the volume rocker.
The warranty is rendered void as soon as the iPhone 5C back housing is opened. For the sake of proper repair it is better to go through a proper channel instead of doing it yourself.
The Spudger is used to remove the flash connector cable and the IPhone 5C back housing is ready for replacement.


